
Each LED on your map belongs to one airport. If an airport closed or you want a different airport on an LED, you can change it on the map’s web page.
Before you start: save a copy of your current airport list, so you can always go back. See how to back up your PilotMap config files.
Change an airport #
- Open your map’s page at
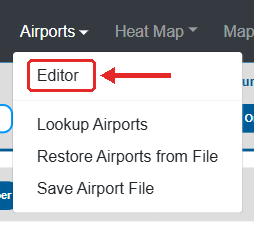
http://<map name>.localorhttp://<IP address>(see how to find the IP address). - In the top menu, move the mouse over Airports and click Editor.
- Each row is one LED (Pin #). Find the row with the airport you want to replace and type the new 4-letter airport ID into the Airport ID box. US airports start with
K, for exampleKDEN. Not sure about the ID? Use Airports, Lookup Airports.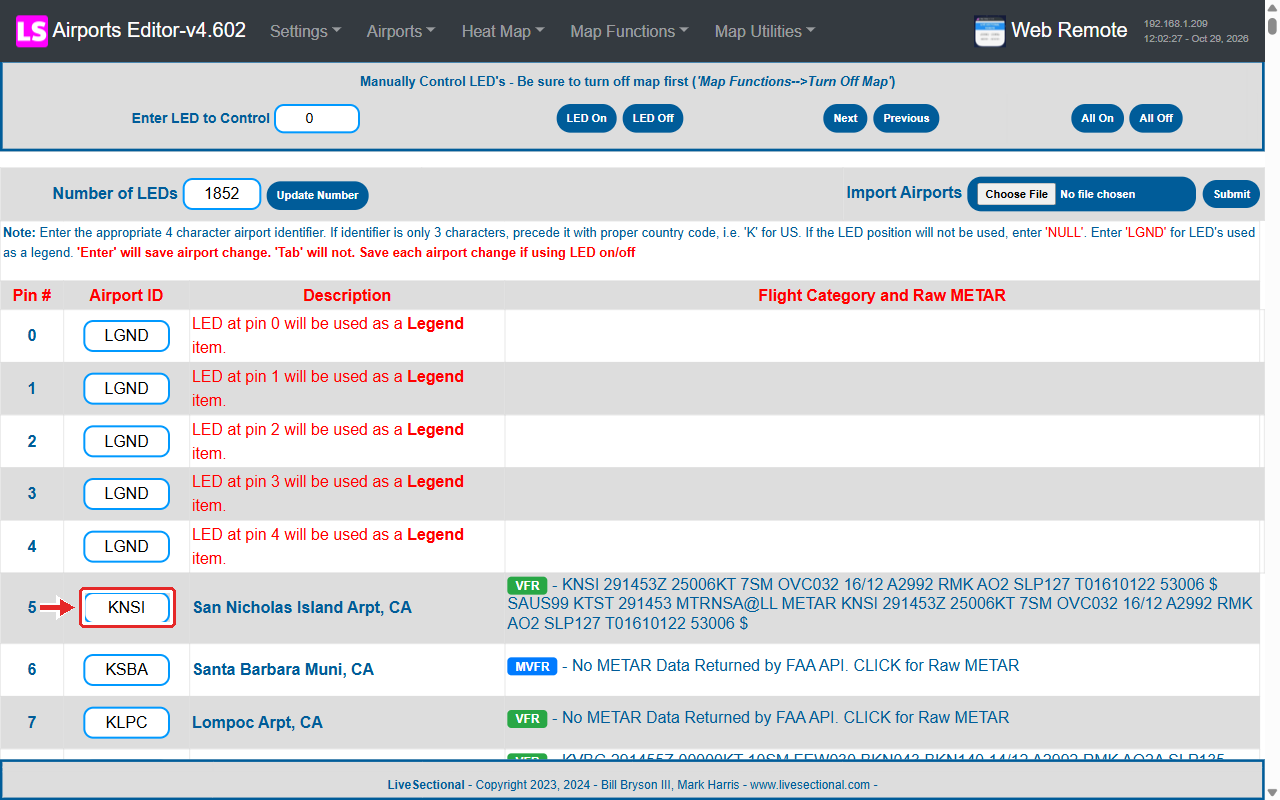
- Press Enter after each change. Tab does not keep it.
- Don’t change rows that say
LGND: those are your legend LEDs.NULLmeans the LED is not used.
Save and restart #
- In the top menu, move the mouse over Airports and click Save Airport File. You will see Airports Successfully Saved.
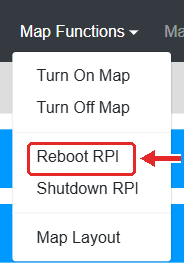
- Go to Map Functions and click Reboot RPI. After about 2 minutes the map shows the new airports.
If an LED stays in the INVALID colour after the restart, check the airport ID: the airport may not report weather.


