
Use this to load your own settings back onto the map, for example after an SD card update or reset. You need the files from your backup, or the files we sent you by email. The config file ends in config.py, the airports file in airports. The name before that (for example florida-config.py) doesn’t matter.
Use a computer for this: it is much easier to pick a file there than on a phone.
1. Upload the config file #
- Open your map’s page at
http://<map name>.localorhttp://<IP address>(see how to find the IP address). - In the top menu, move the mouse over Settings and click Editor.
- At the top right next to Import Config, click Choose File, pick your config file and click Submit. You will see Config File Imported.
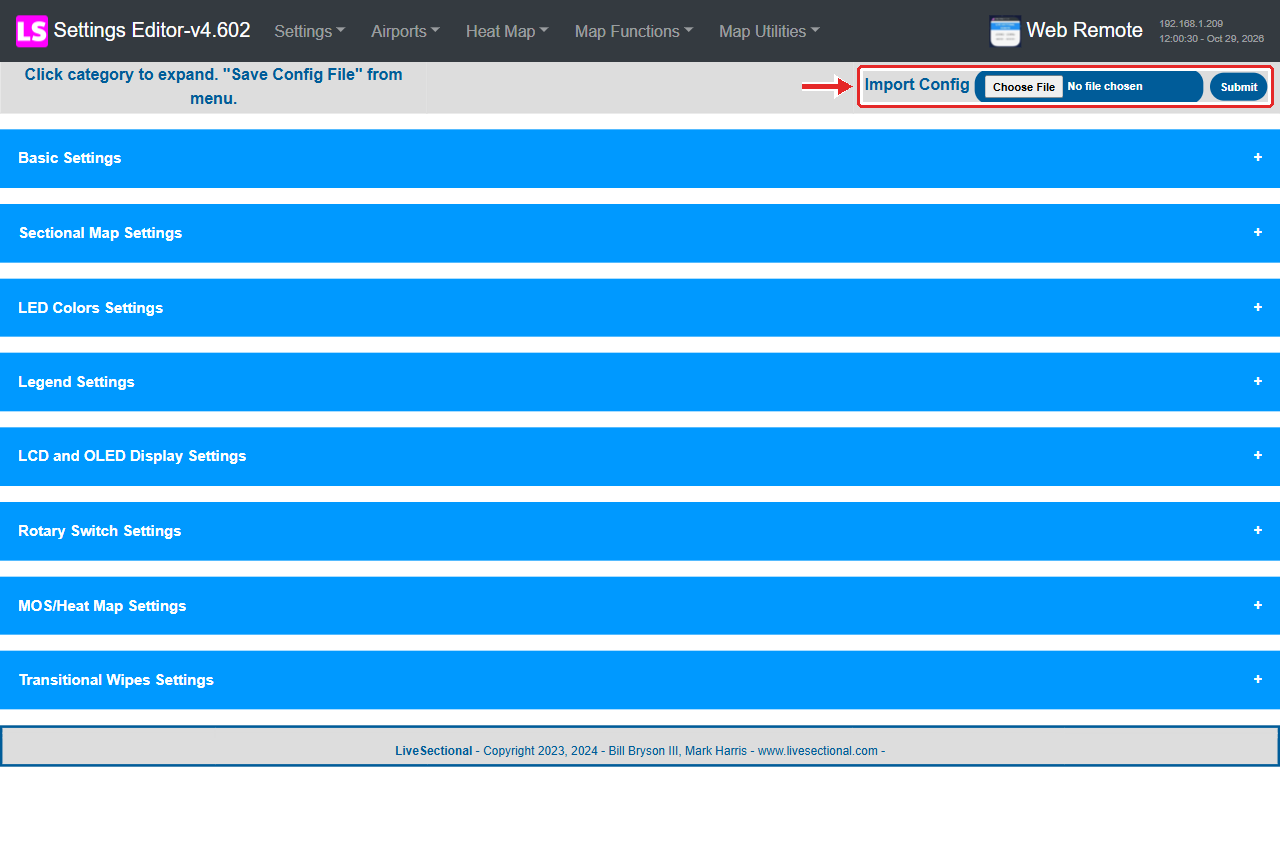
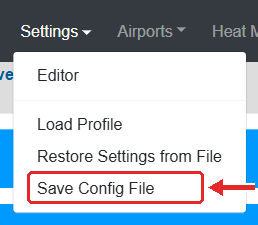
- The settings are only loaded into the editor so far. Move the mouse over Settings and click Save Config File to keep them.
2. Upload the airports file #
- In the top menu, move the mouse over Airports and click Editor.
- Next to Import Airports, click Choose File, pick your airports file and click Submit. You will see Airports Imported and your airports in the list.
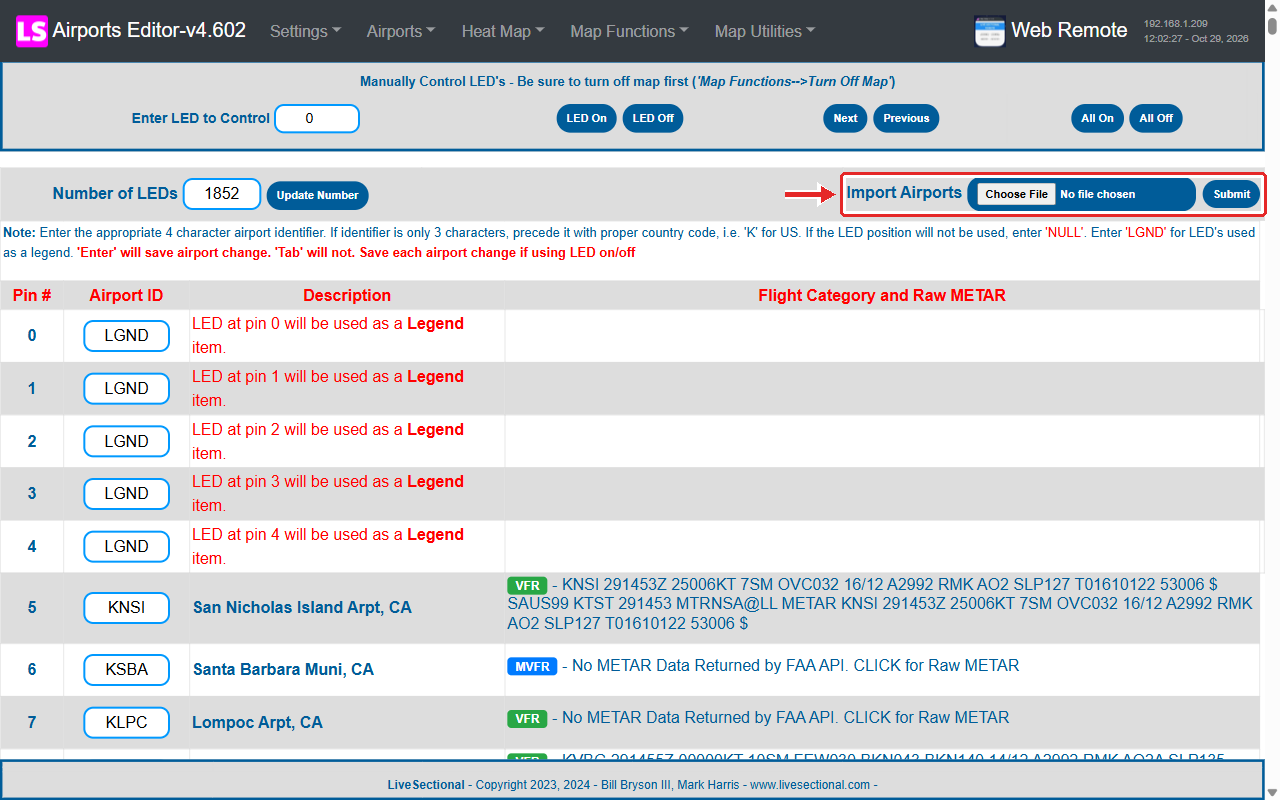
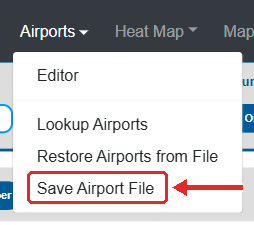
- Move the mouse over Airports and click Save Airport File. You will see Airports Successfully Saved.
3. Restart the map #
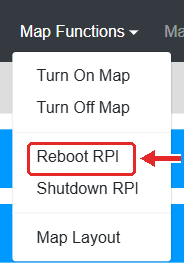
- Go to Map Functions and click Reboot RPI. After about 2 minutes the map shows your airports with your settings.
Tip: if you also have a heat map file (hmdata), the Heat Map menu has the same Import Heat Map box in its Editor; save it with Save Heat Map File.
Prefer to watch? Here is a short video of the upload (the files in it are only examples).


