Info #
Updated November 28, 2025
If you received your PilotMap after Thanksgiving 2025, Method 1 is the correct setup method for you. If you got your map before that date, we strongly recommend updating it to the latest software version first. You can find a step by step update tutorial here. The new version not only enables the new WiFi setup method but also includes performance improvements and several minor bug fixes.
Don’t power on / plug in the map yet.
If you own more than one PilotMap, please power on only one map at a time while you do the WiFi setup. Once the configuration for that map is complete, you can turn on your other maps and use them all together.
Method 1 – New browser-based setup (no app required) #
Your PilotMap now creates its own temporary WiFi network. You connect to that network, select your home WiFi from a list, enter the password, and you are done.
Before you start #
Have this ready:
- The name of your WiFi network (SSID)
- The WiFi password
- A phone, tablet, or laptop with WiFi
Step 1 – Power up your PilotMap #
- Plug in your PilotMap.
- Wait about 1–2 minutes.
- The map will create a WiFi network called “Pilotmap WiFi Config”.
Step 2 – Connect to “Pilotmap WiFi Config” #
- On your phone or laptop, open WiFi settings.
- In the list of networks, tap “Pilotmap WiFi Config” and connect
(it is an open network, no password needed). - After a few seconds a captive WiFi page will open automatically.
- On iPhone it shows as Captive Wi-Fi.
- On Android or a laptop it may say Sign in to network.
If the page does not open by itself, open your browser and go to http://10.0.0.1.
You should now see the PilotMap WiFi setup screen with the Pilotmap.co logo.

Step 3 – Save your personal PilotMap address #
At the top of the setup page you will see a red bar with text similar to:
After connecting to WiFi, visit this address to configure your PilotMap:
http://pilotmapfl-xs.local
This blue link is the address of your map on your network.
- The part before
.localis different for each map
(for examplepilotmapfl-xs.local,pilotmapne.local, etc.). - Always use the exact address that is shown on your own screen.
Write it down or take a screenshot.
You will use this address later to open the main PilotMap setup page.
")
Step 4 – Choose your WiFi and enter the password #
On the same setup page:
- Under SSID click the dropdown and choose your home or office WiFi network from the list.
- In the Passphrase field, type your WiFi password.
- Tap Connect.
The page will show a short loading message and then close. The “Pilotmap WiFi Config” network will disappear.

Step 5 – Reconnect to your normal WiFi #
- Go back to WiFi settings on your phone or laptop.
- Reconnect to your normal WiFi network (the one you just selected in the dropdown).
Step 6 – Open the PilotMap setup page #
- On your phone or computer, open a browser.
- In the address bar, type the link you saved in Step 3, for example:
http://pilotmapfl-xs.local - The LiveSectional / PilotMap Home page will open.
- Follow the on screen steps, such as setting the time zone for your map.
")
If you need to change WiFi later #
If you move the map to a new location or change your router and the map cannot connect anymore, it will start the “Pilotmap WiFi Config” network again. Simply repeat Method 1 to select the new WiFi and password.
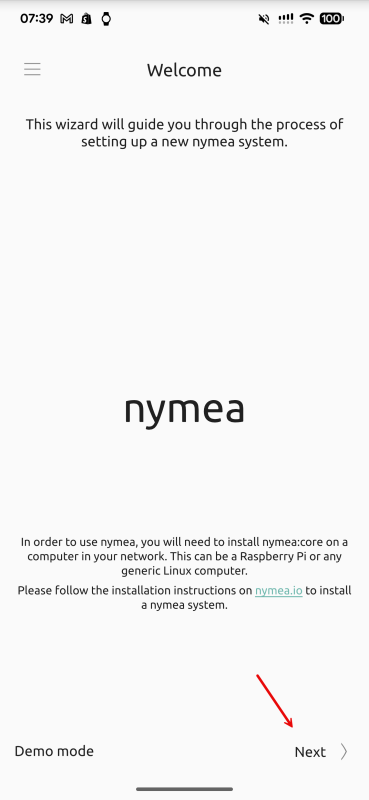
Method 2 – Older software using the Nymea app #
Download the Nymea App #
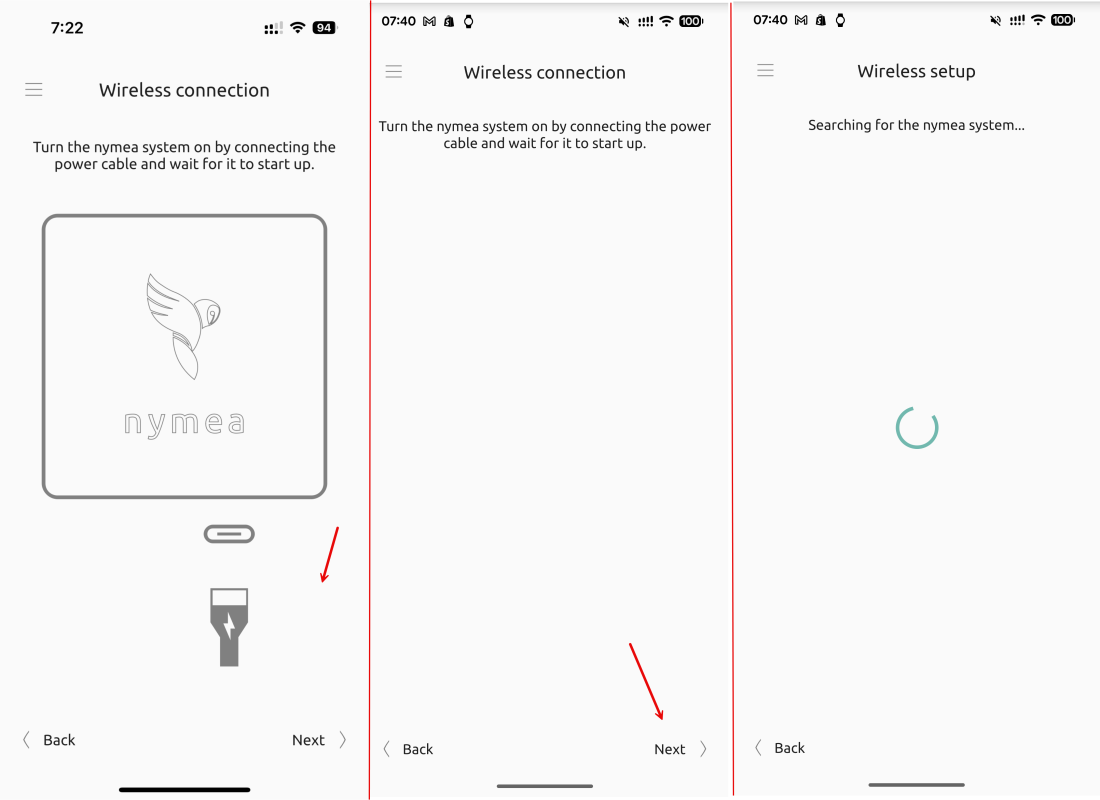
Make sure that Bluetooth is active on your phone.
Click on the Wireless network button next.

Please allow all the access the app needs; otherwise, it won’t work.

Make sure the map is powered on. And then click next. The app is now searching for your map to connect to.
Please click the BT WLAN button when it appears. After that, the app will search for available WiFi networks. This process may take a few minutes depending on your location and available WiFi networks. Select your Wi-Fi and then enter your password.
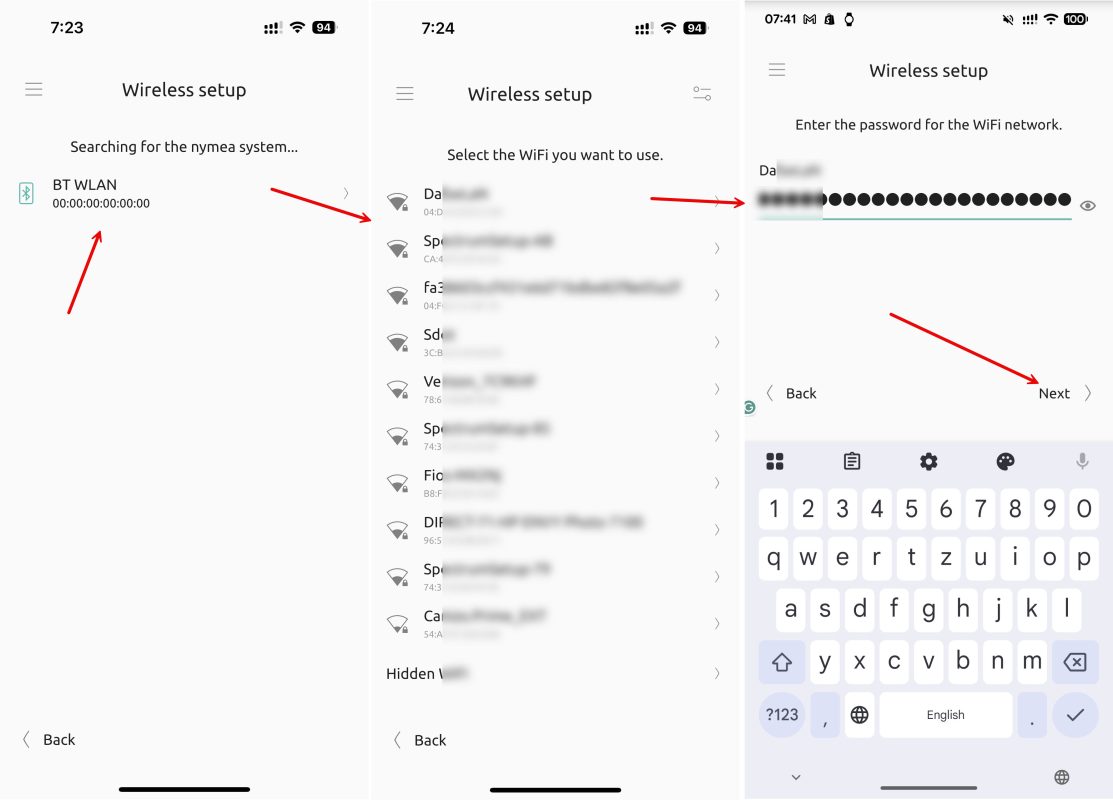
The Android app has a bug that causes it to jump back to the WiFi password page. To ensure that you have entered the correct password, click on the little eye icon. If the password is correct, unplug the map, wait for 20 seconds, and then power it back on.
Depending on the size of your map, it may take a few minutes for the LEDs to turn on.
For the iPhone app, you should see the screen displayed below. Similarly, unplug the map, wait for 20 seconds, and then power it back on. Your map’s WiFi is now configured.


