Table of Contents
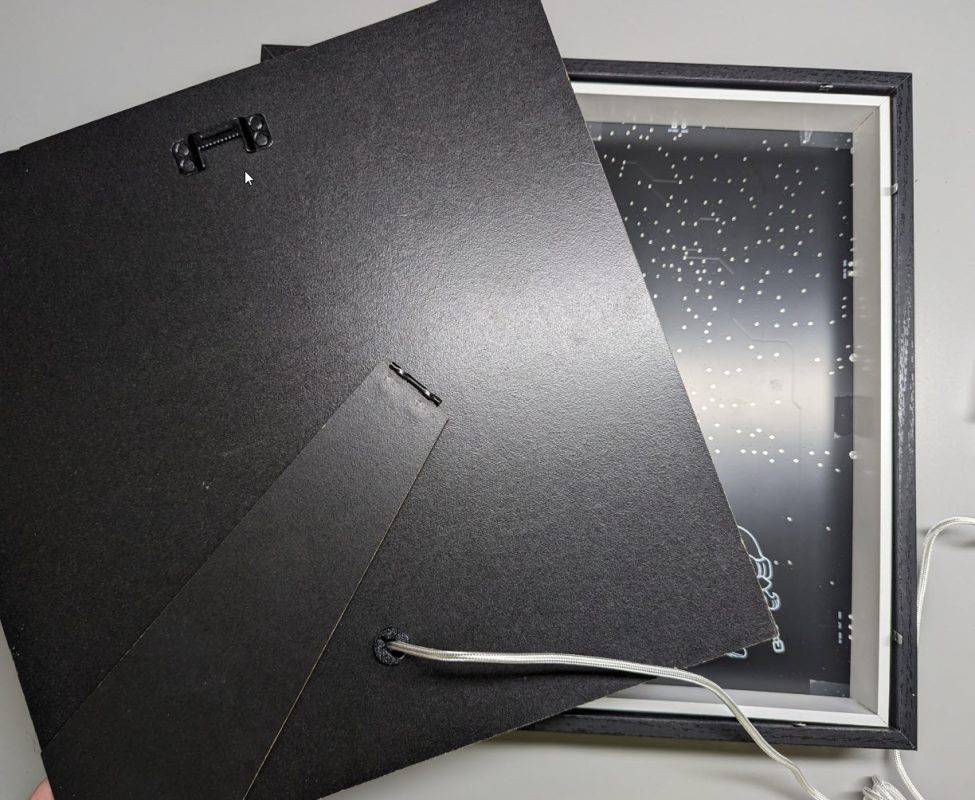
Open the back of the map #
Bend all eight tabs upwards to unlock the backplate.
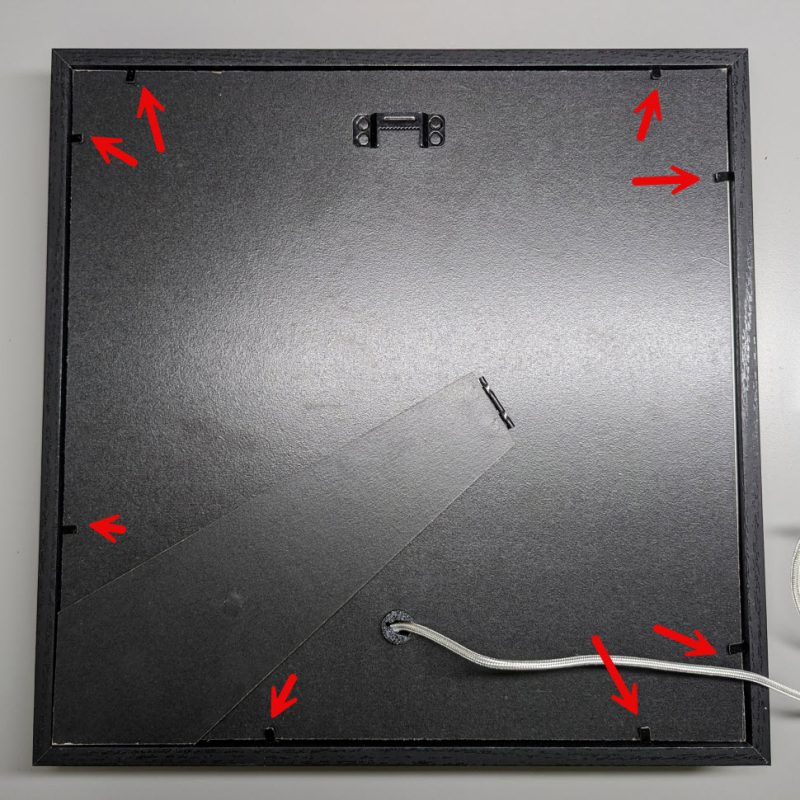
Remove the backplate. Make sure not to unplug the USB cable.
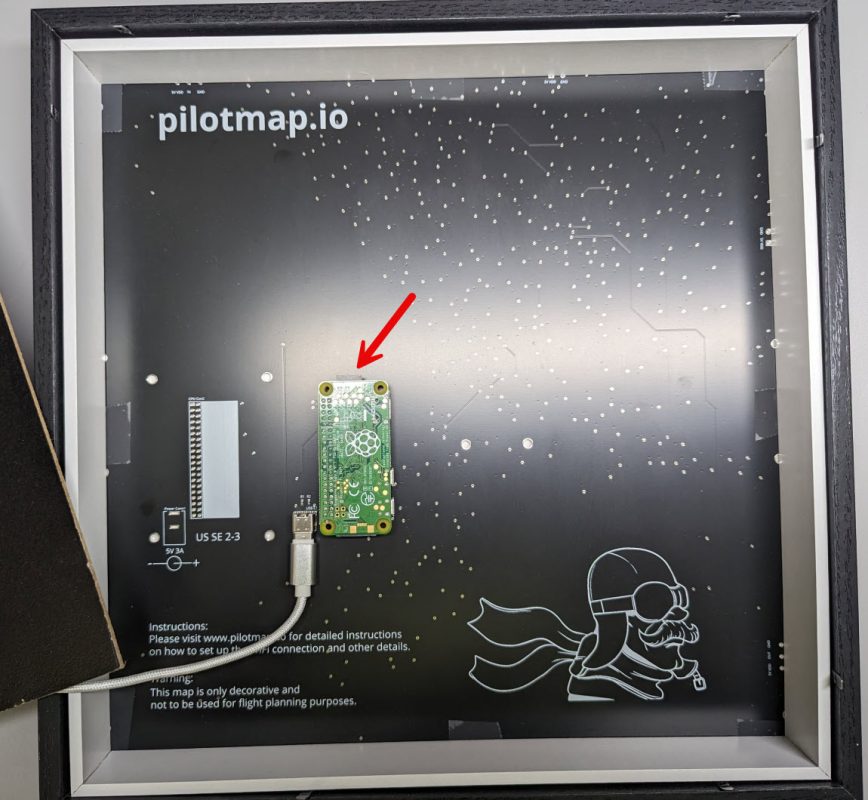
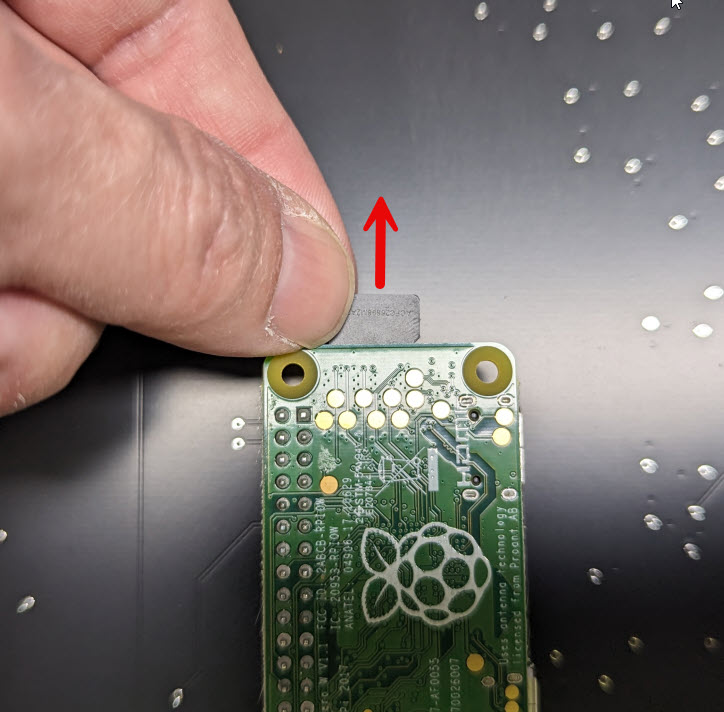
Locate the SD card #
The SD card is on top of the Raspberry Pi controller board. See picture below.
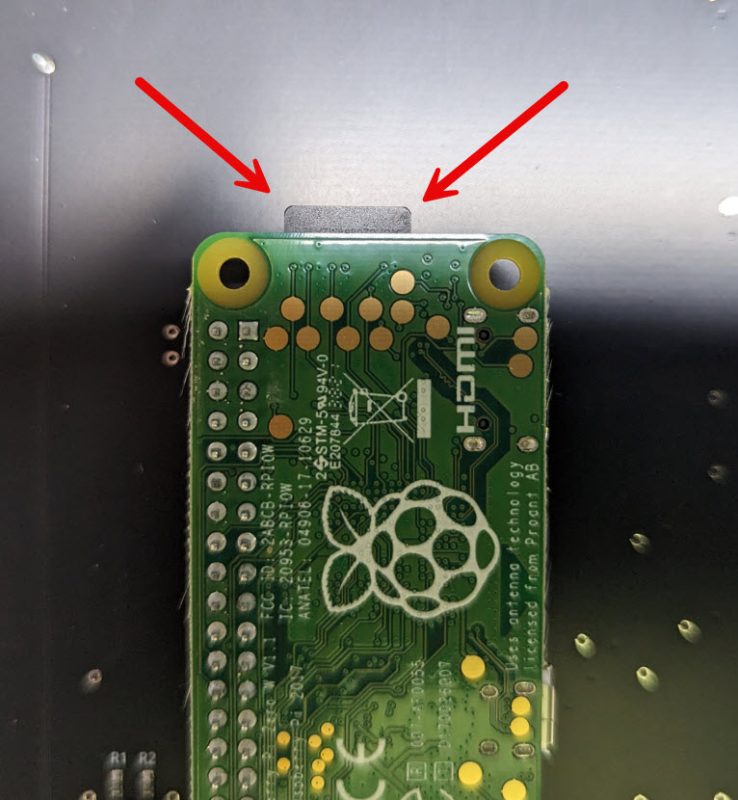
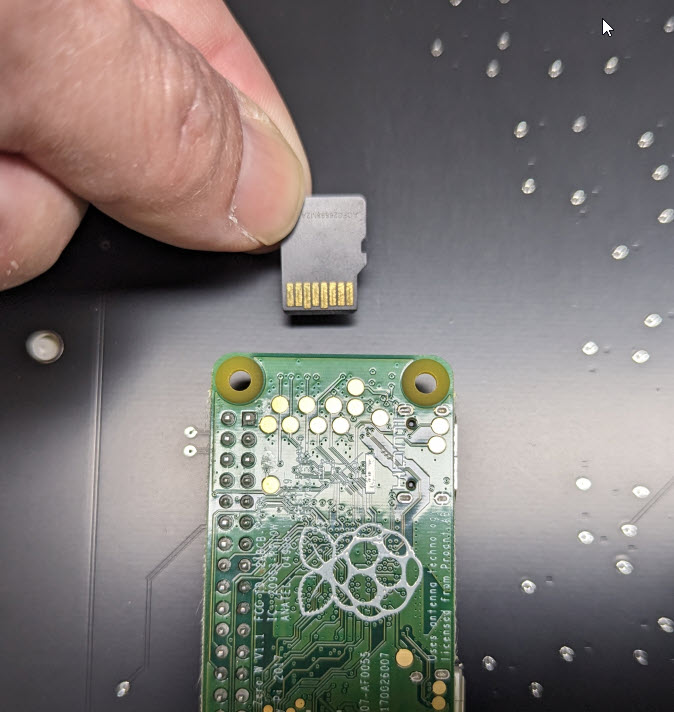
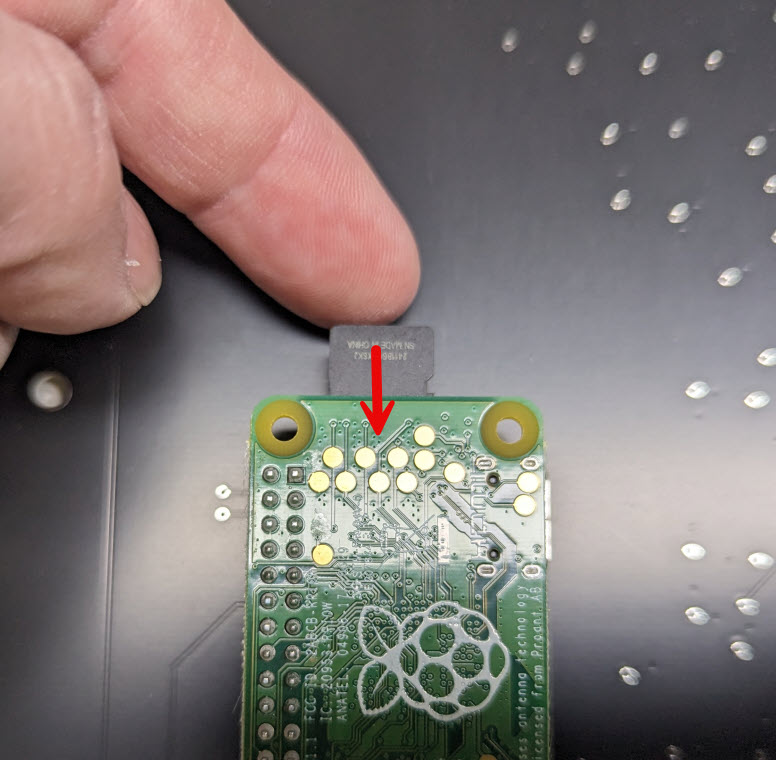
Remove the old card and insert the new one #
Carefully remove the old card and insert the new one, as shown in the pictures below.
Close the frame #
Ensure the USB cable is still attached to the map, then add the backplate again and bend back the tabs.
Set up the WiFi again #
After replacing the SD card, you need to set up your WiFi again. Please follow the tutorial provided here.


