
The map’s software lives on a small SD card inside the frame. You only need to take it out to update or reset the software, or to put in a new card we sent you. It takes about 5 minutes and needs no tools.
Before you start: unplug the map, and if you changed any settings, back up your config files first (that needs the map plugged in and on WiFi).
1. Open the back of the map #
- Lay the map face down on a soft surface, like a towel.
- Bend all eight metal tabs upwards to unlock the backplate.
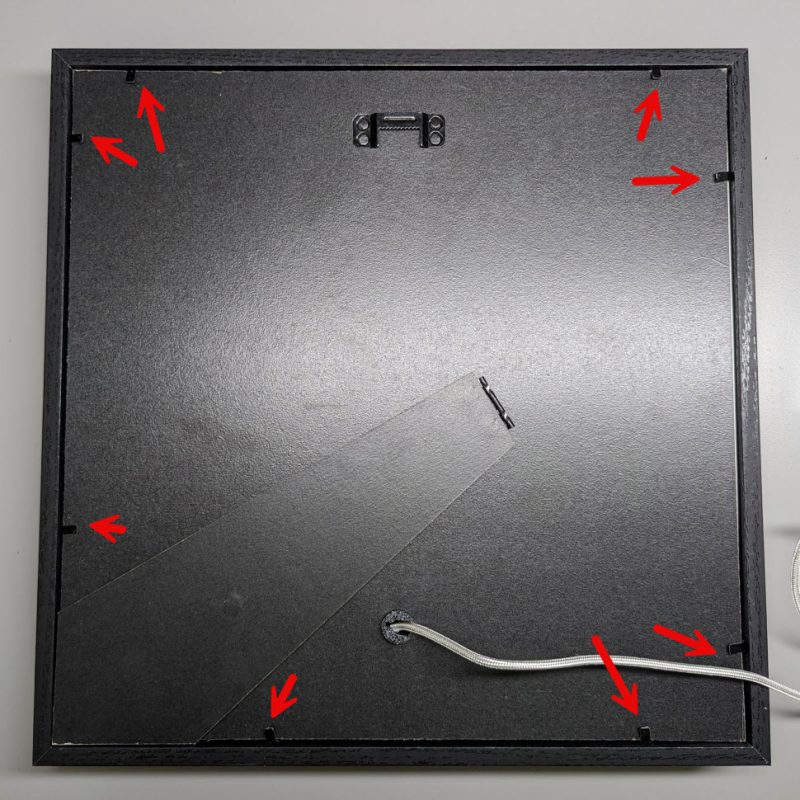
- Lift off the backplate. Leave the USB cable plugged in on the inside.
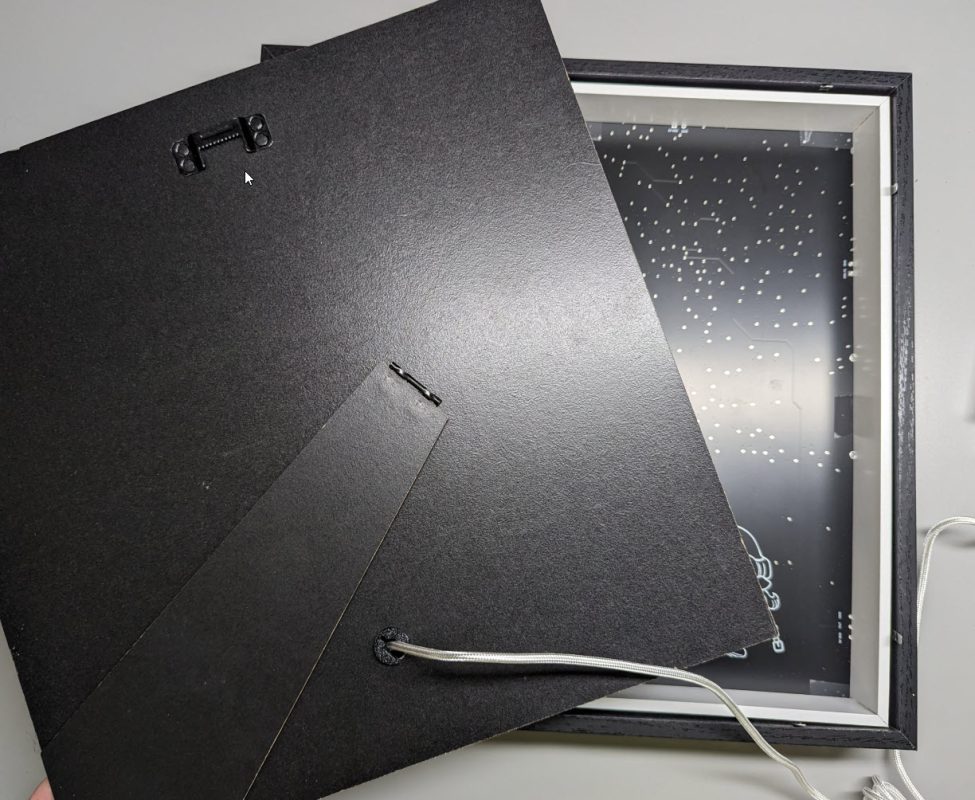
2. Find the SD card #
The SD card sits in the edge of the Raspberry Pi, the small green circuit board.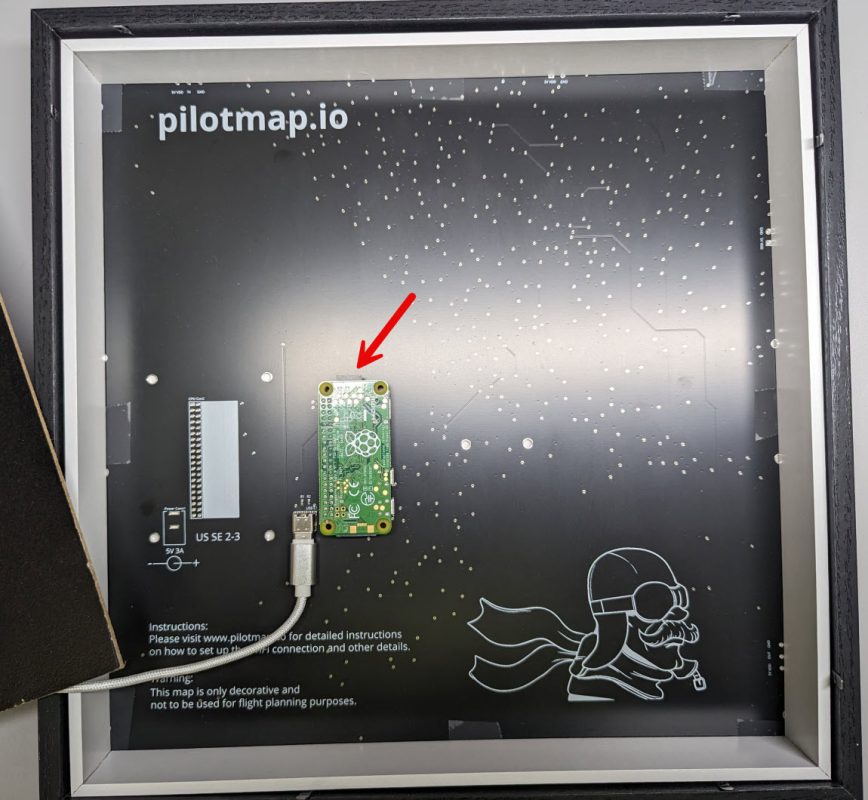
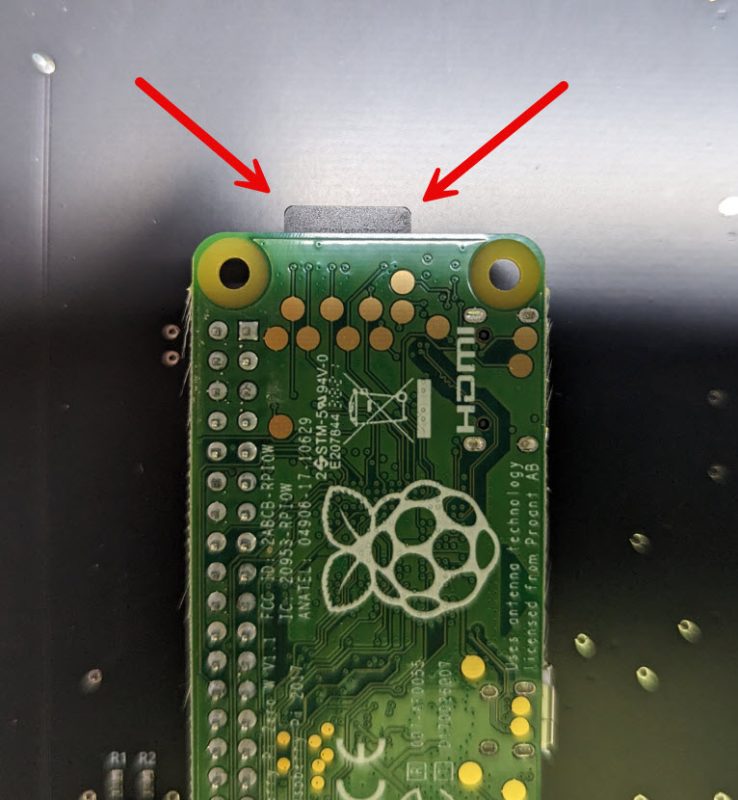
3. Swap the card #
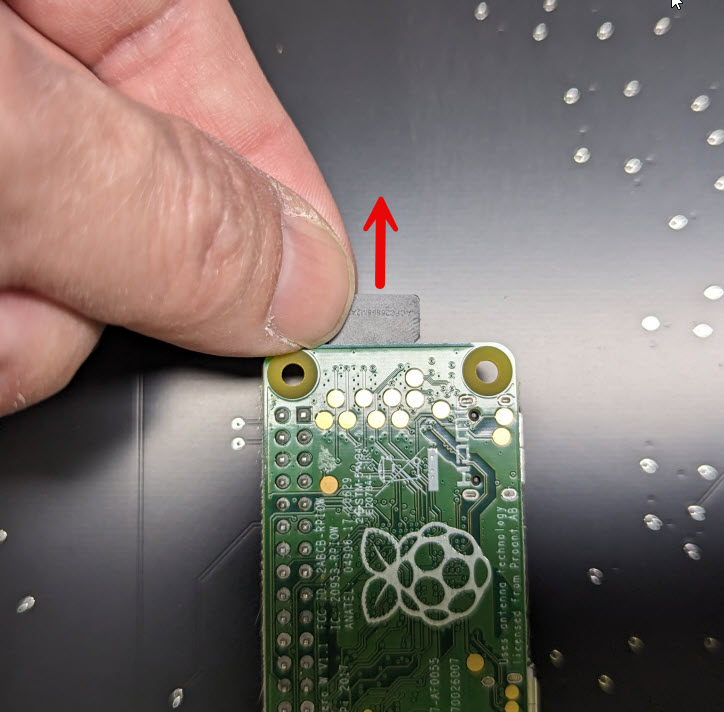
- Pull the old card straight out. It is not locked in, so don’t twist it.
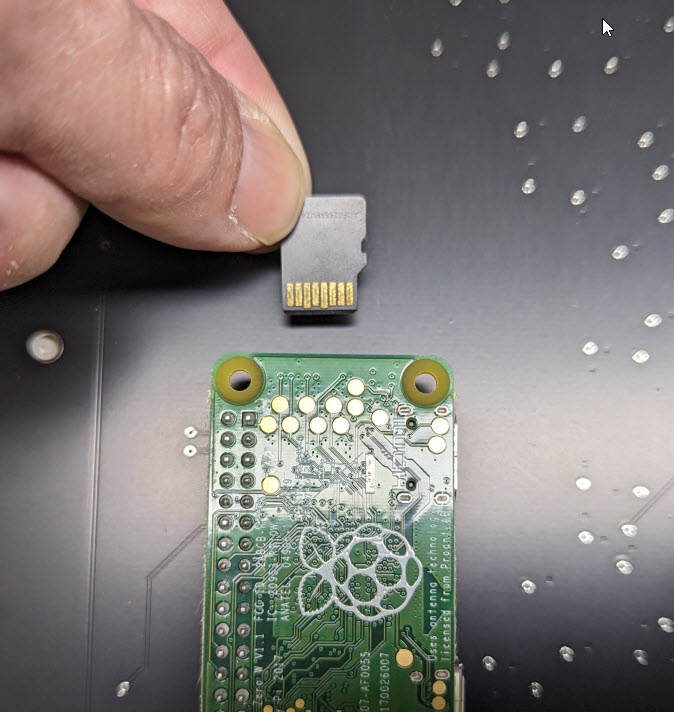
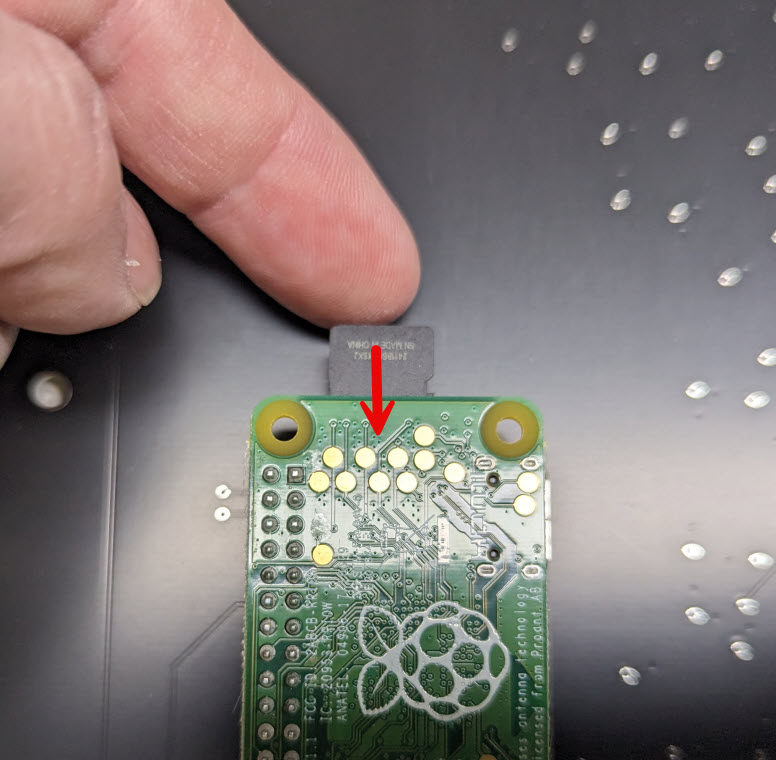
- Slide the new or rewritten card in the same way round as the old one came out, until it stops.
4. Close the frame #
- Check that the USB cable is still connected inside.
- Put the backplate back on and bend all eight tabs down again.
5. Set up the WiFi #
Plug the map in. A new or rewritten card doesn’t know your WiFi yet, so set up the WiFi again. Then load your config files if you made your own changes.


